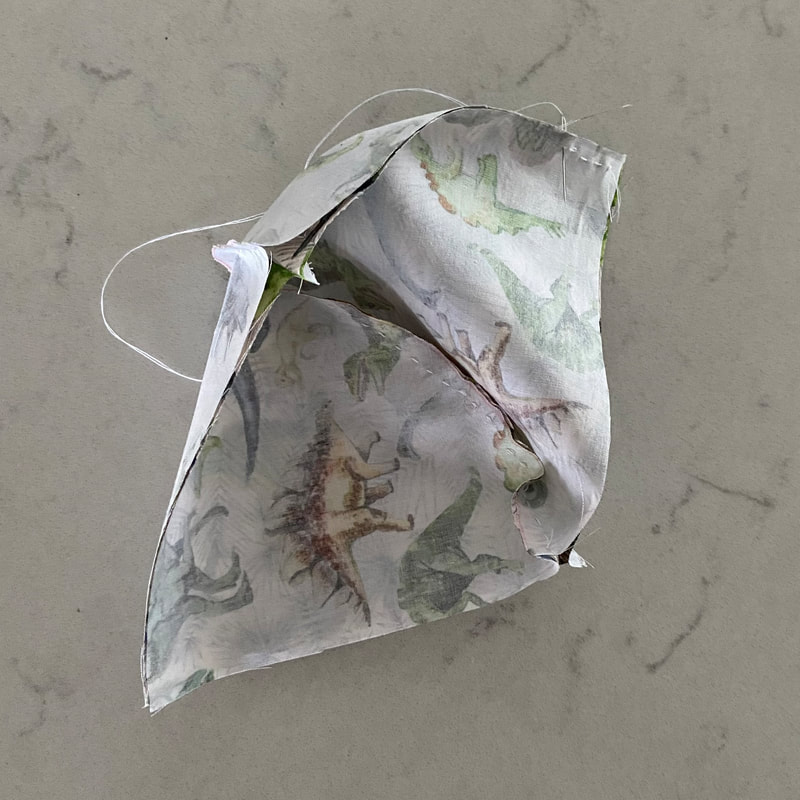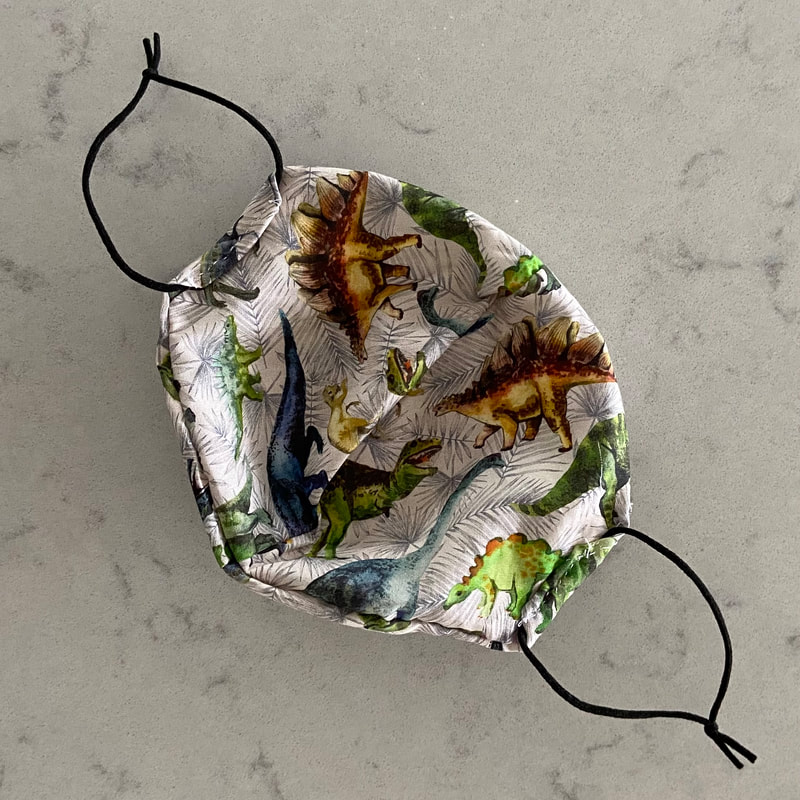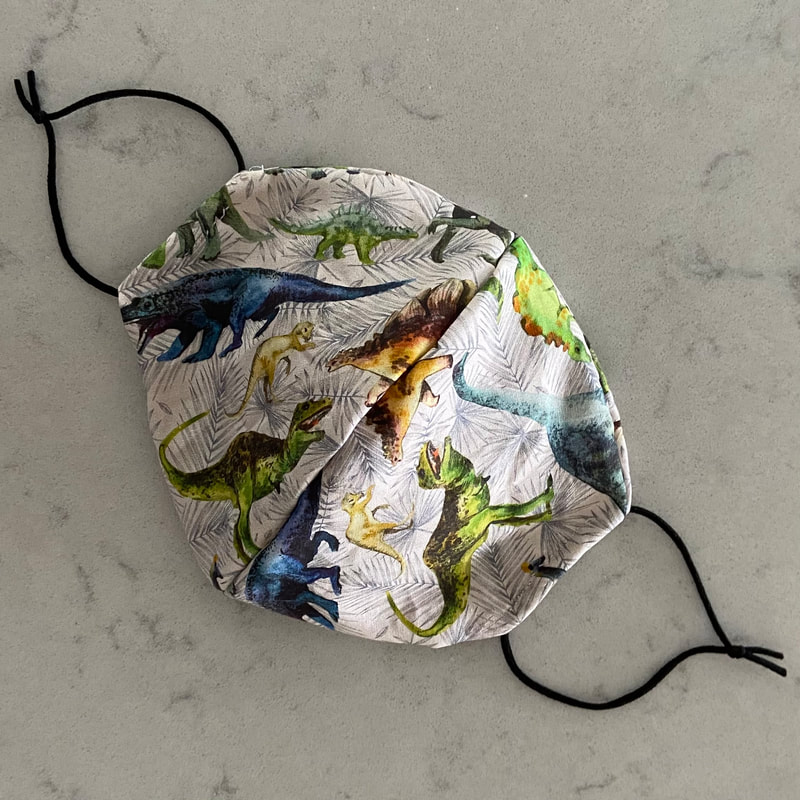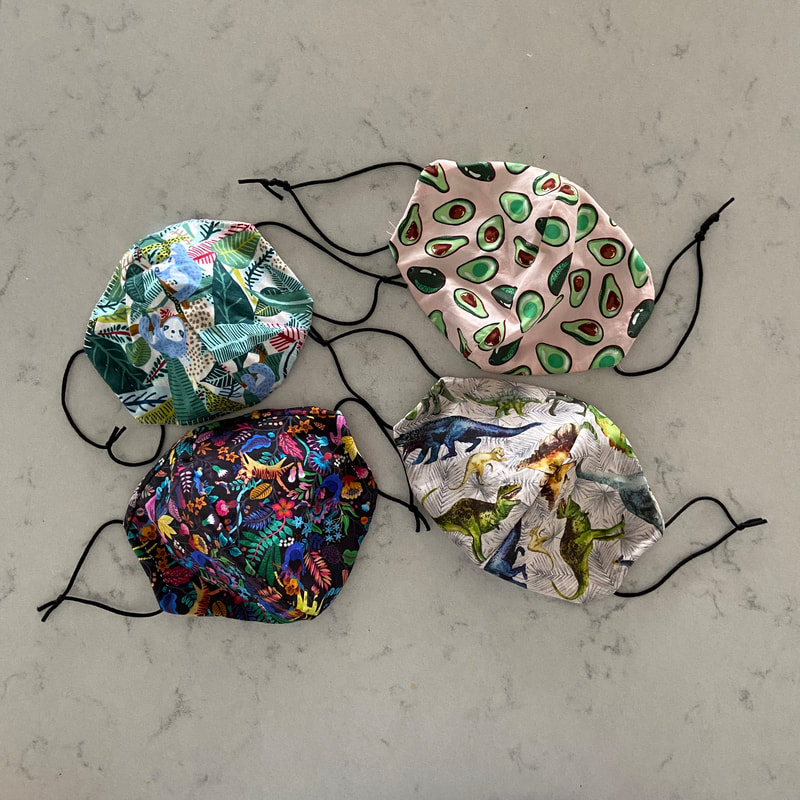
If the traditional blue and white paper face masks are cramping your style, here's an easy way to make your very own nose and mouth cover without the need for a sewing machine.
This pattern takes about an hour to make from start to finish, so can be smashed out in just one sitting of Married at First Sight, or with six Bluey episodes playing in the background.
I am notorious for not exactly having an eye for detail (I am a strong advocate of the 'good enough' movement). If you're anything like me, this mask pattern can be done without any precision whatsoever- it is very forgiving.
If you're ready to dazzle with your muzzle, head out to your local fabric store, grab 1/2 metre of a fun pattern, and prepare to turn heads.
So when I said this pattern was easy, I really meant it. In fact, there is no pattern.
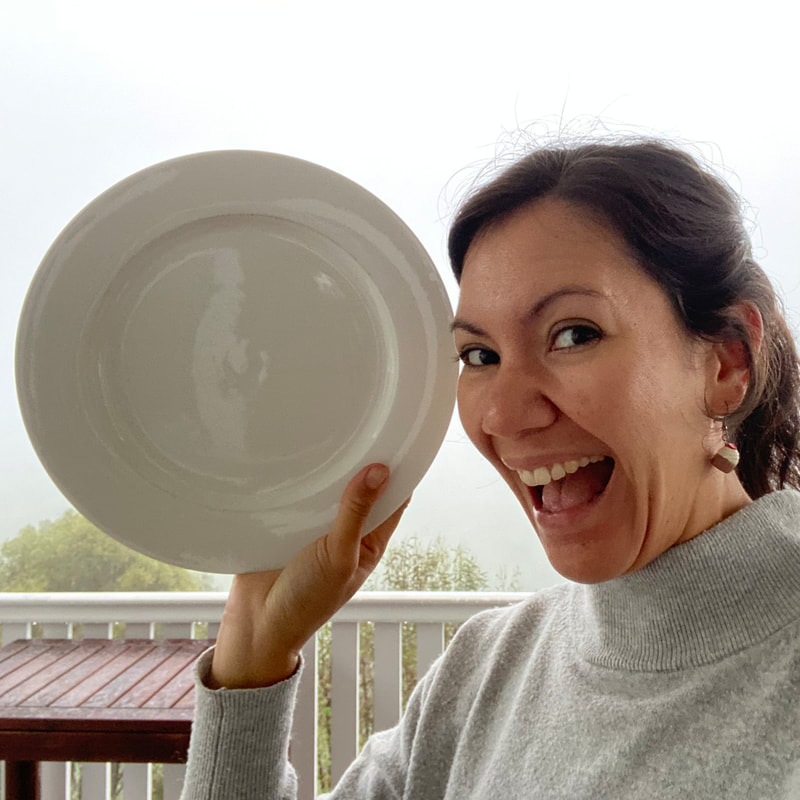
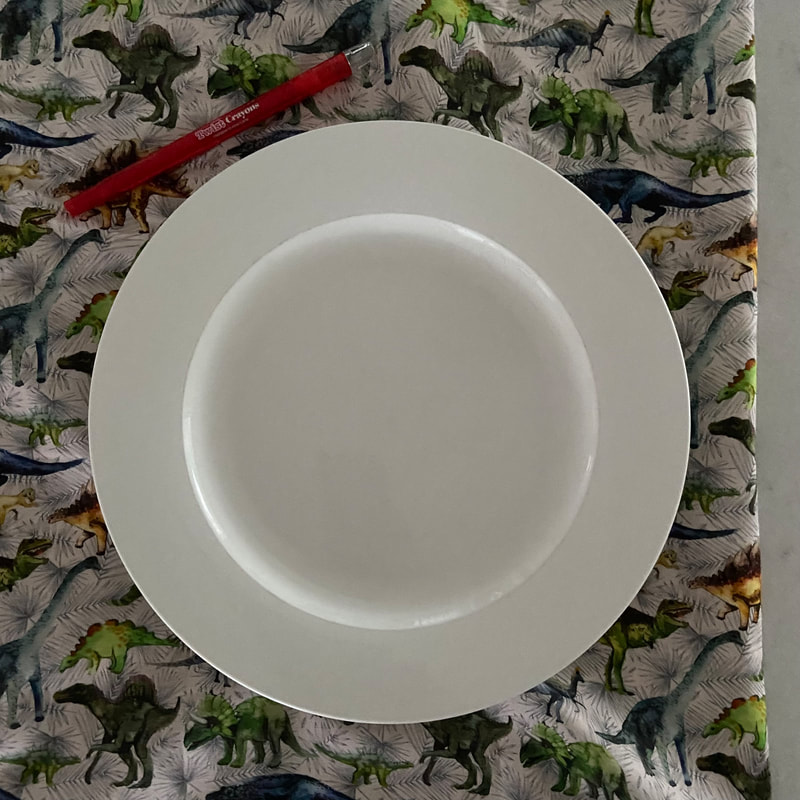
All you need is a bog standard dinner plate as your template. If you're making a mask for a small person, a bread and butter plate will suffice.
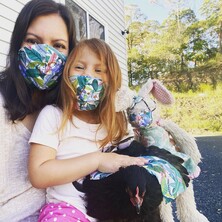
Pro tip: chickens don't need facemasks.
Materials:
How to make mask magic:
Step 1.
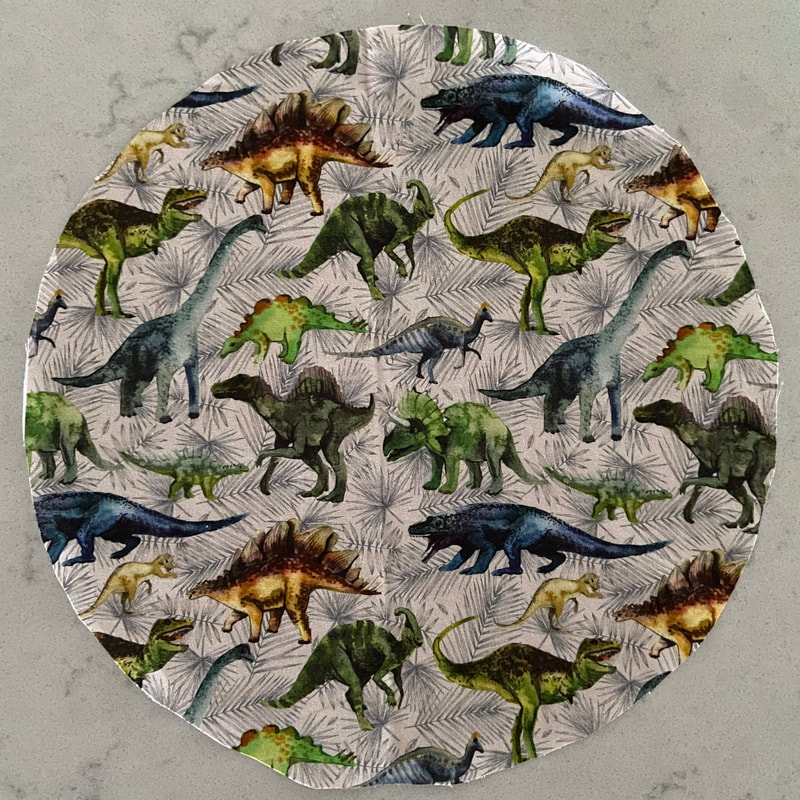
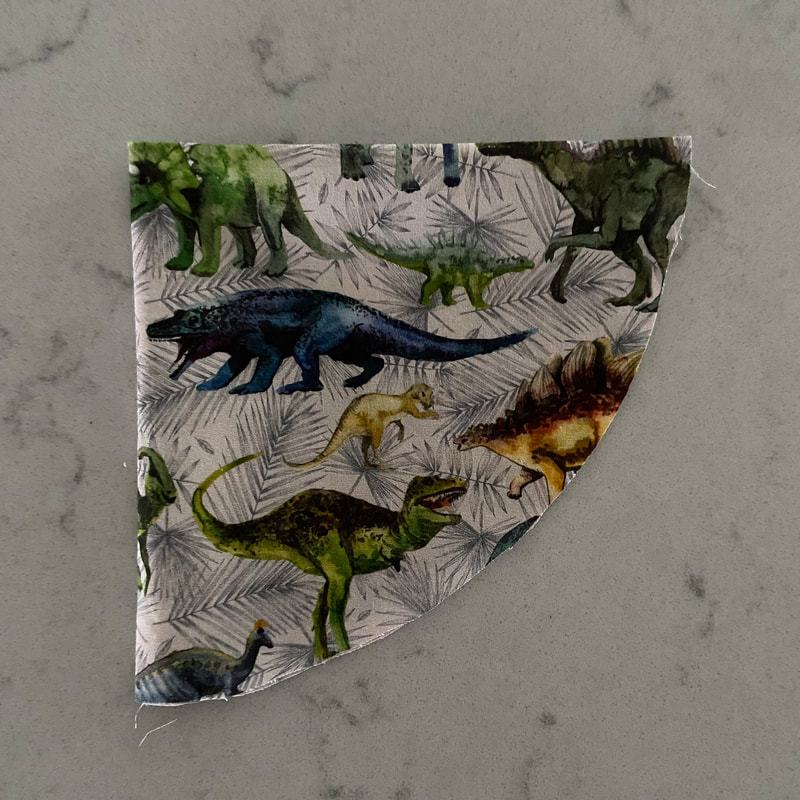
Place your dinner plate on the back of your fabric and trace around it with your kid's crayon. Then cut out your circle.
If it's not a perfect circle, that's ok- remember this is a 'good enough' project.
All you need is a bog standard dinner plate as your template. If you're making a mask for a small person, a bread and butter plate will suffice.
Pro tip: chickens don't need facemasks.
Materials:
- 1/2 meter of fabric (this will give you a lot left over to make matching masks for the whole family. Because let's face it, even your teenagers will want to look as cool as you.)
- Elastic (mask elastic is available from craft stores or any elastic will do. Raid your undie drawer if need be.)
- Dinner plate
- Your 4-year-old's crayon (or any pen/ pencil)
- Sewing needle
- Sewing thread
- Scissors
- (If you're a perfectionist, add some pins in here, but I just make these without the use of pins because I can't be stuffed really)
How to make mask magic:
Step 1.
Place your dinner plate on the back of your fabric and trace around it with your kid's crayon. Then cut out your circle.
If it's not a perfect circle, that's ok- remember this is a 'good enough' project.
Step 2.
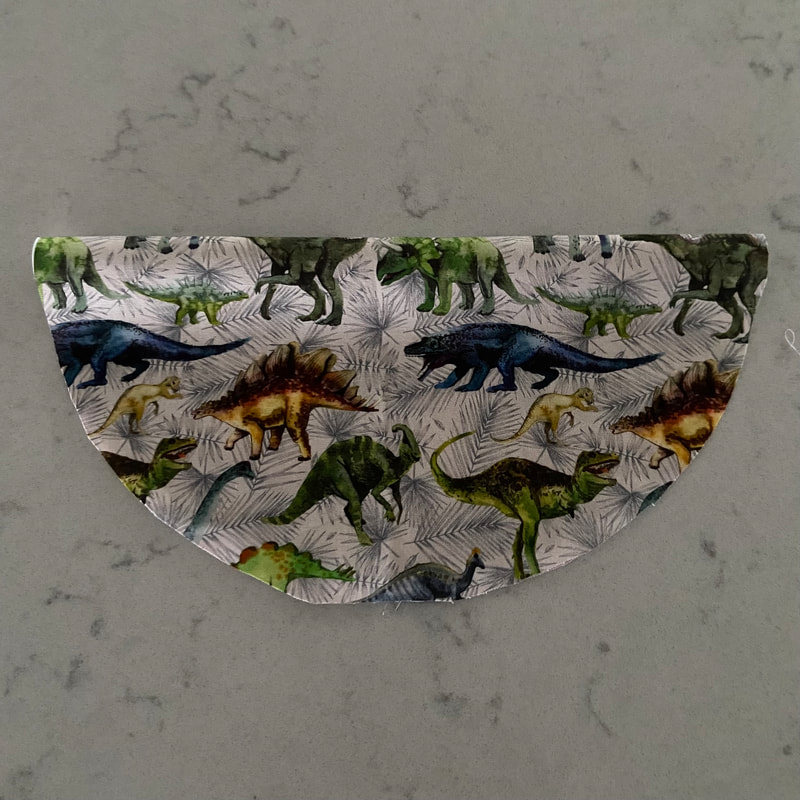
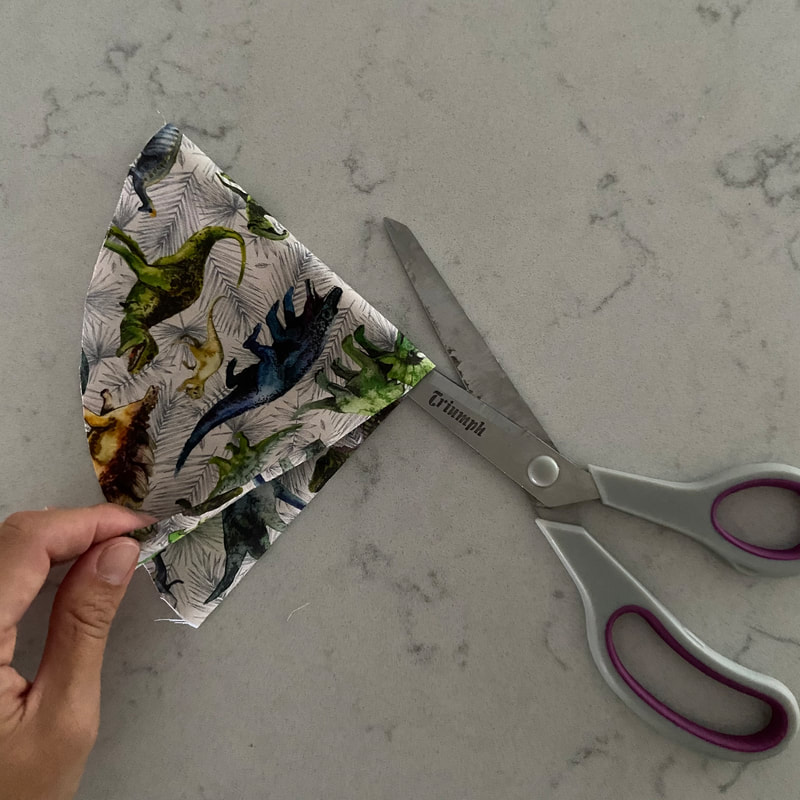
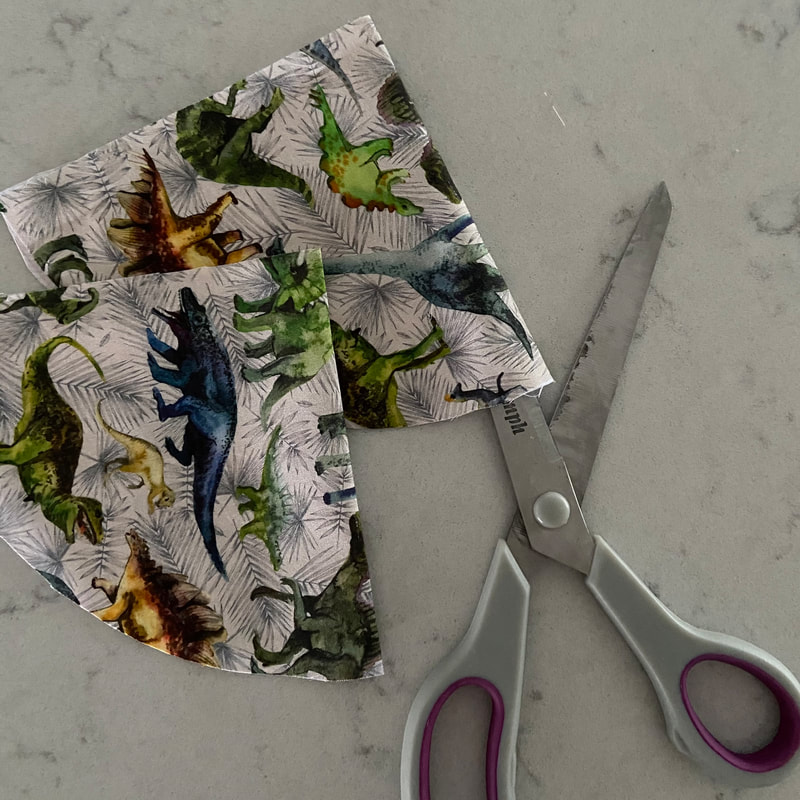
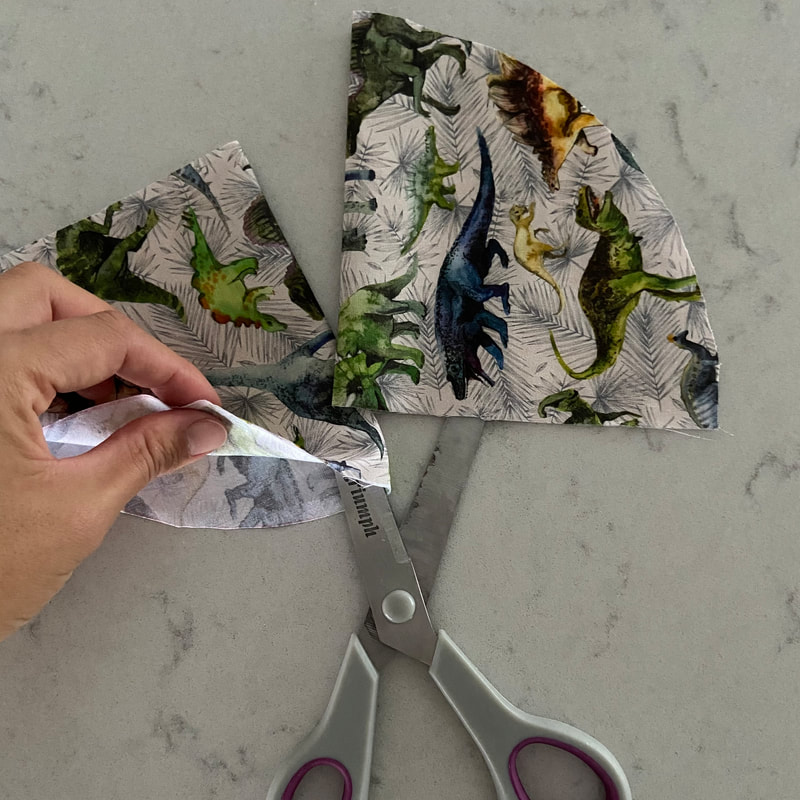
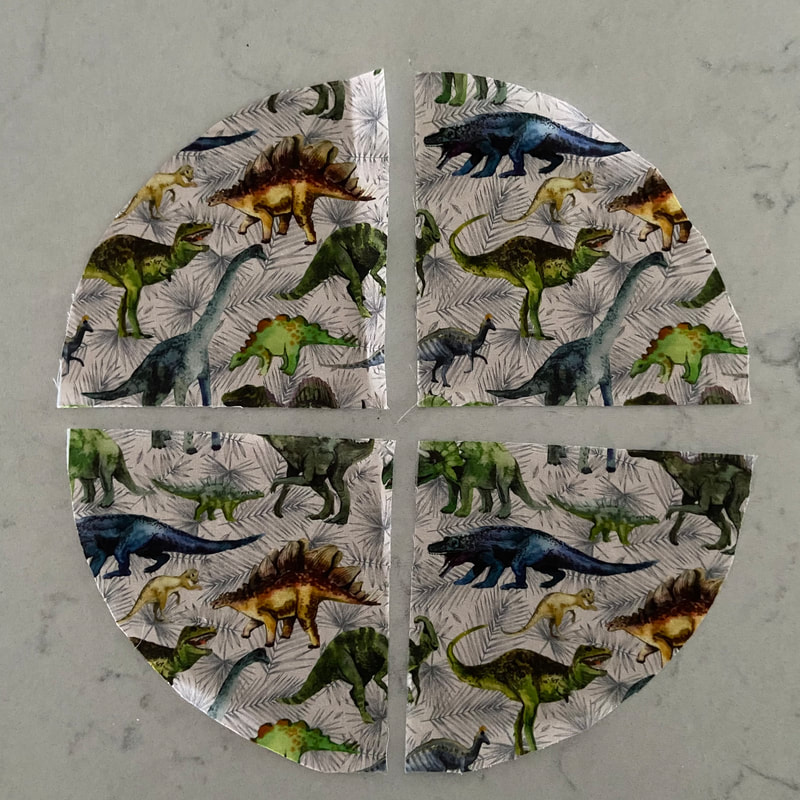
Fold your circle in half, then in half again.
Cut along the last folded side, then cut along the remaining two folds so you end up with four quarter-circles.
Fold your circle in half, then in half again.
Cut along the last folded side, then cut along the remaining two folds so you end up with four quarter-circles.
Step 3.
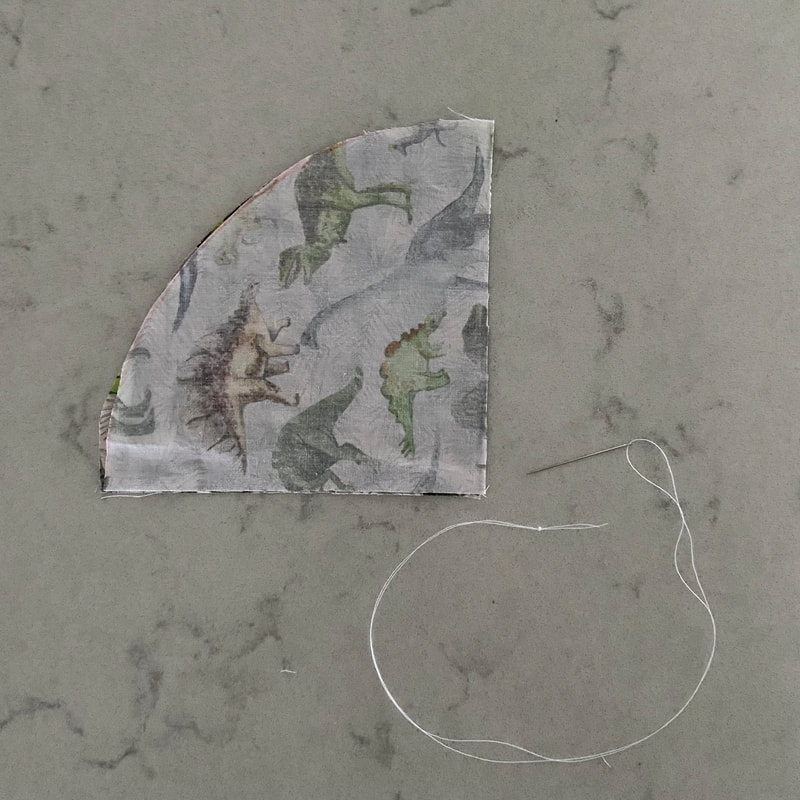
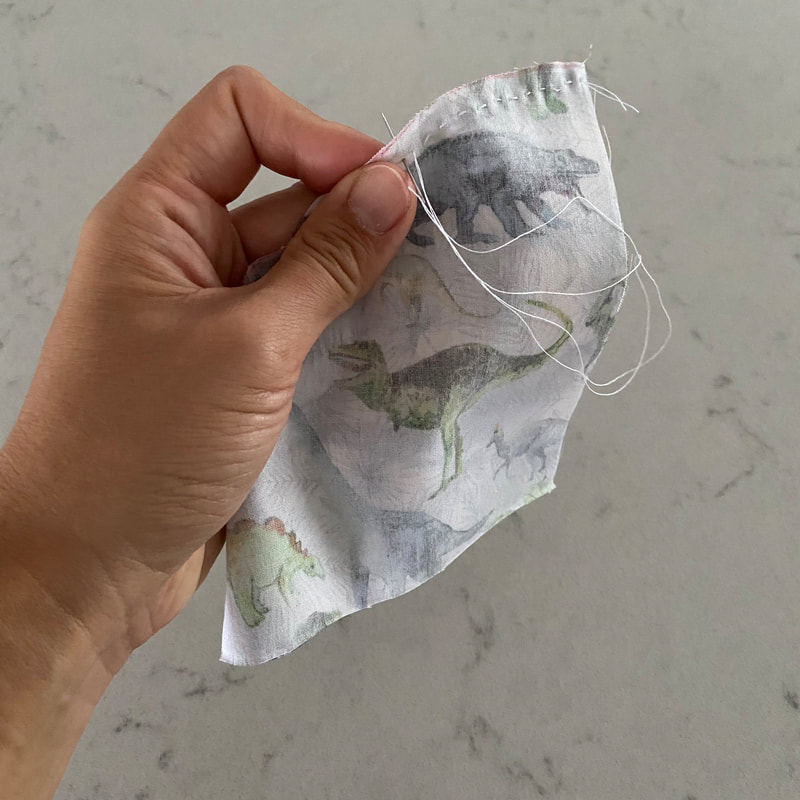
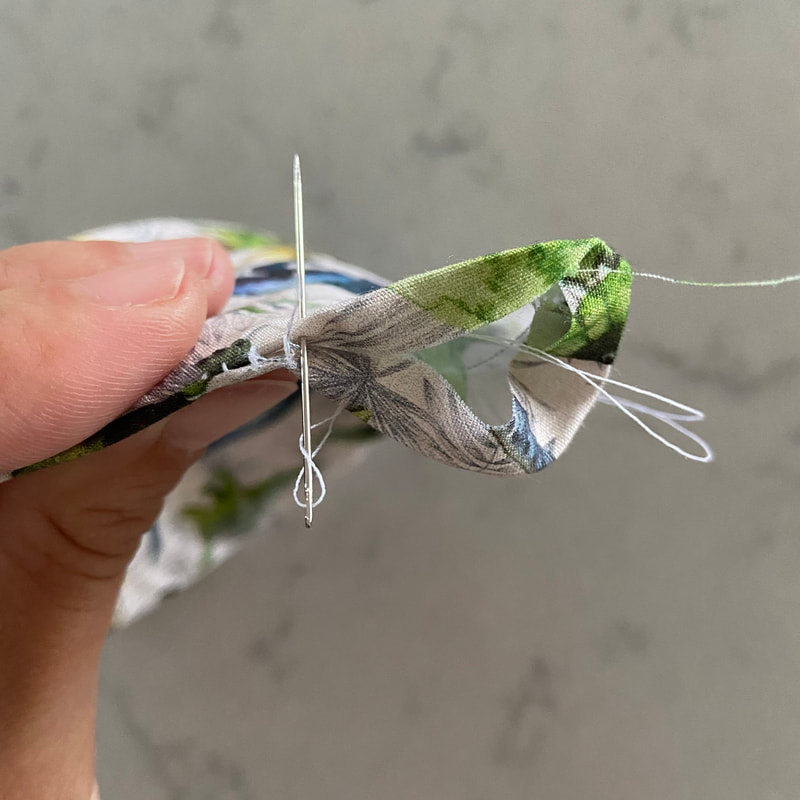
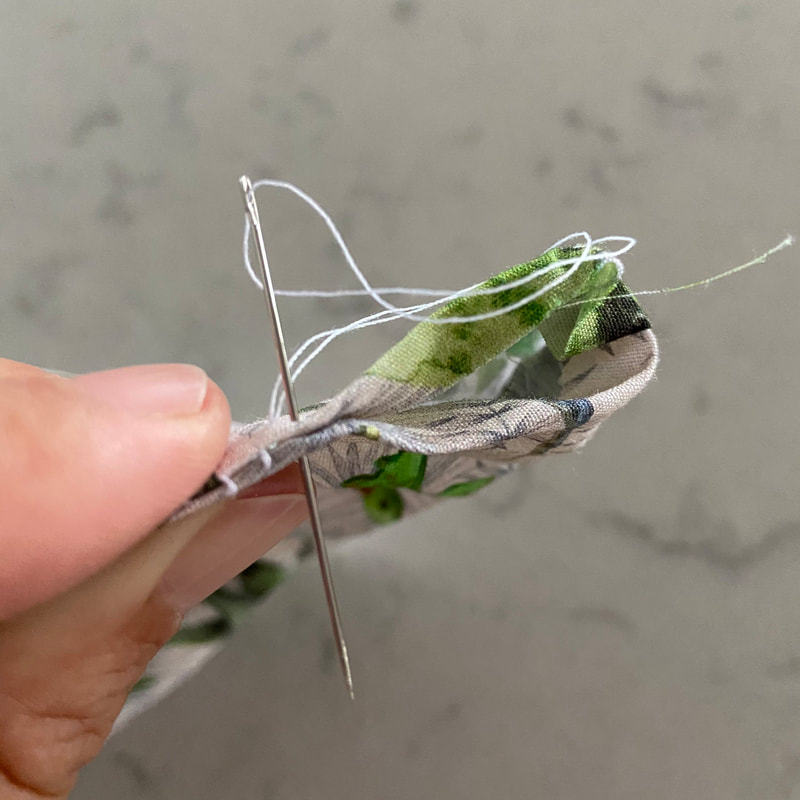
Now thread your needle. That means stick the thread through the eye of the needle and double it up. Cut a piece away from the rest of the thread and tie a couple of knots in the tail end like the second picture below.
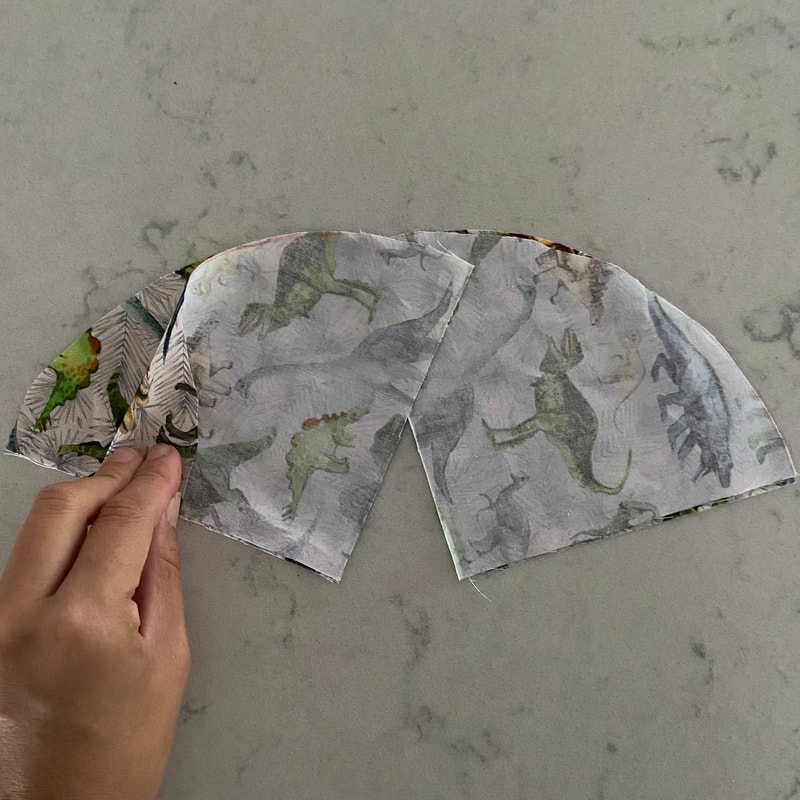
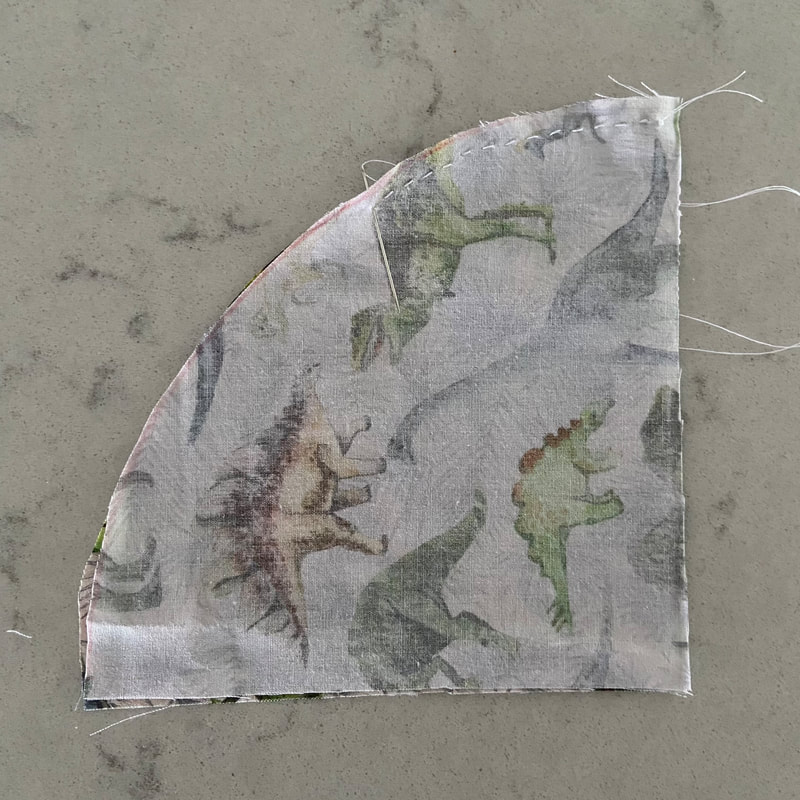
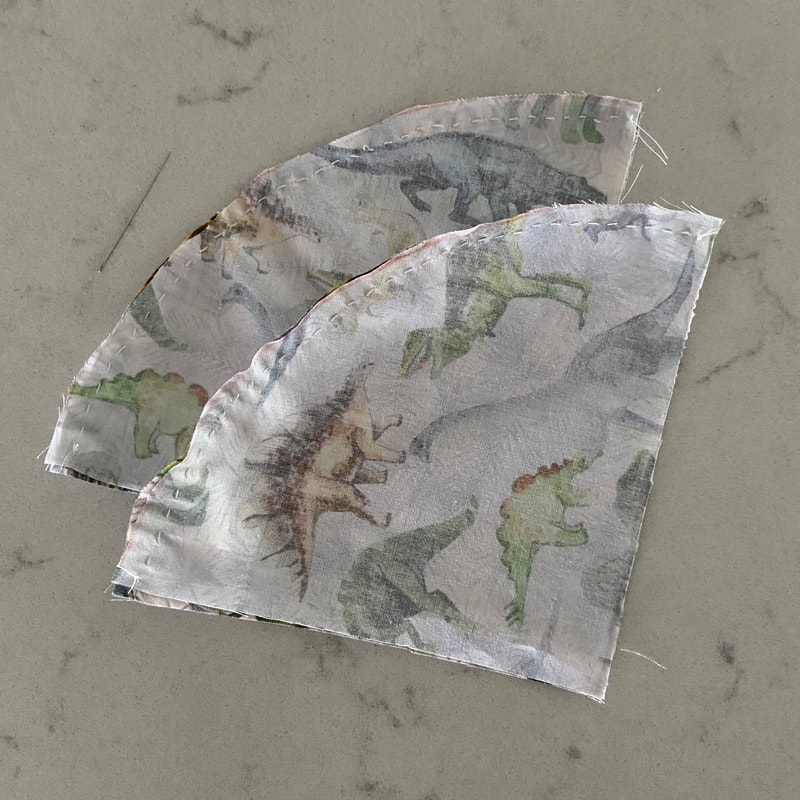
Place two of the quarters pattern-side against each other and start sewing a plain running stitch along the curve of one quarter circle, When you reach the end, cut the thread from the needle and tie off with a couple of knots again. Then do the same along the curve of the second quarter circle.
A running stitch is when you push the needle in and out of the fabric while you keep moving along the piece of fabric.
If you have pins, feel free to use them to keep your shapes together while you stitch along.
Step 4.
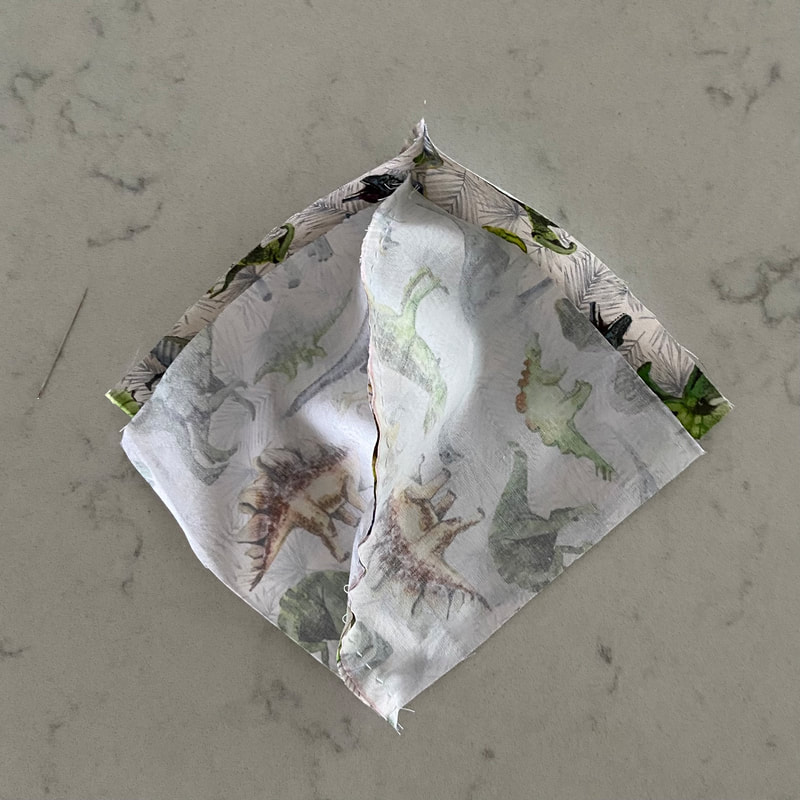
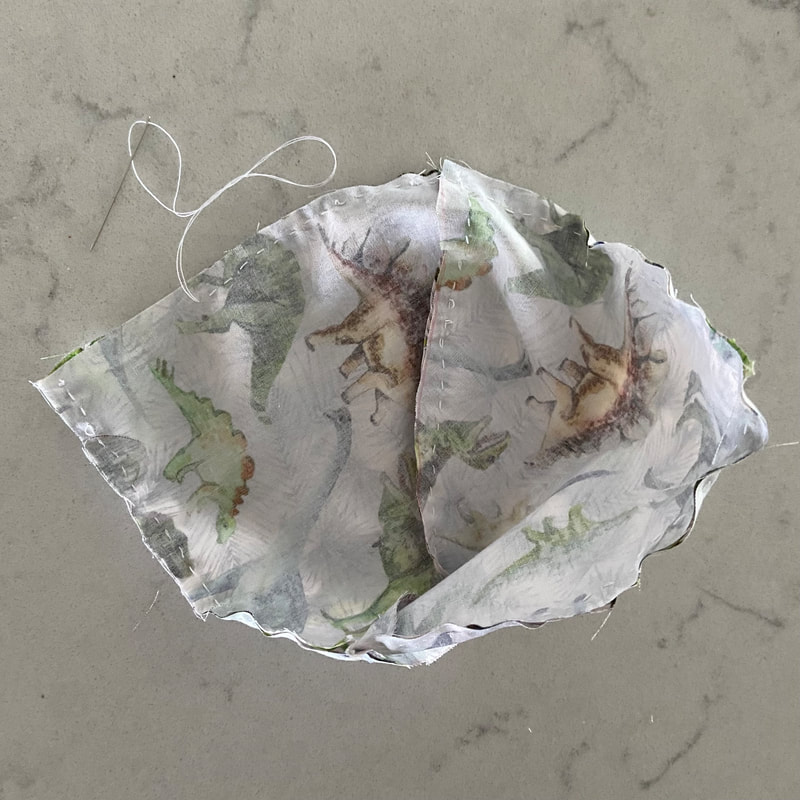
Now your two curves are stitched together, spread them out and press the patterned sides of the shapes together as evenly as possible. Your newly stitched seams should press against each other. This new shape will form a bit of a dome.
Again if you're one of those people with access to pins, feel free to use them here.
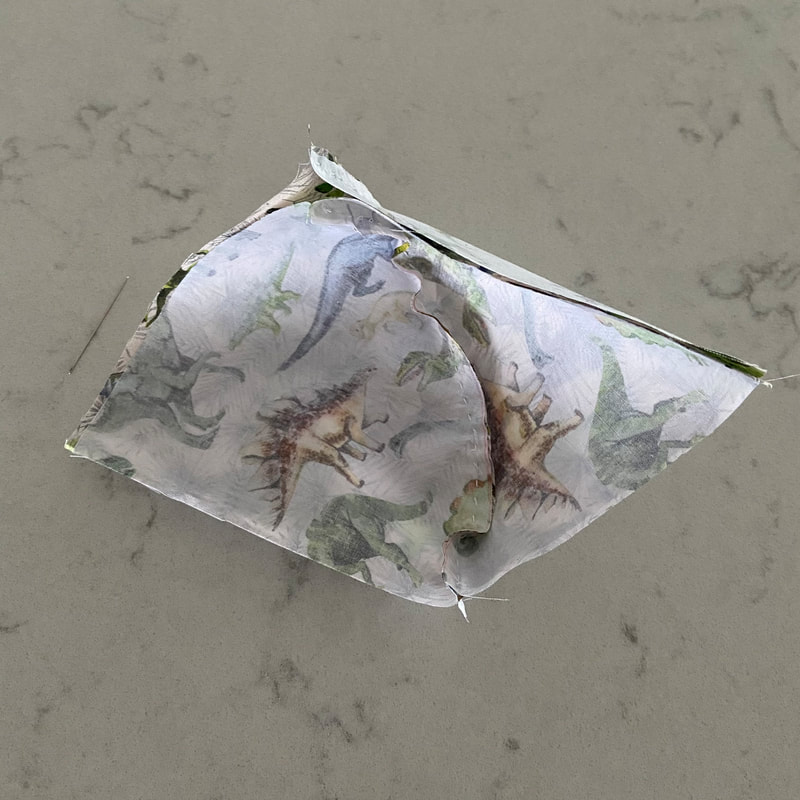
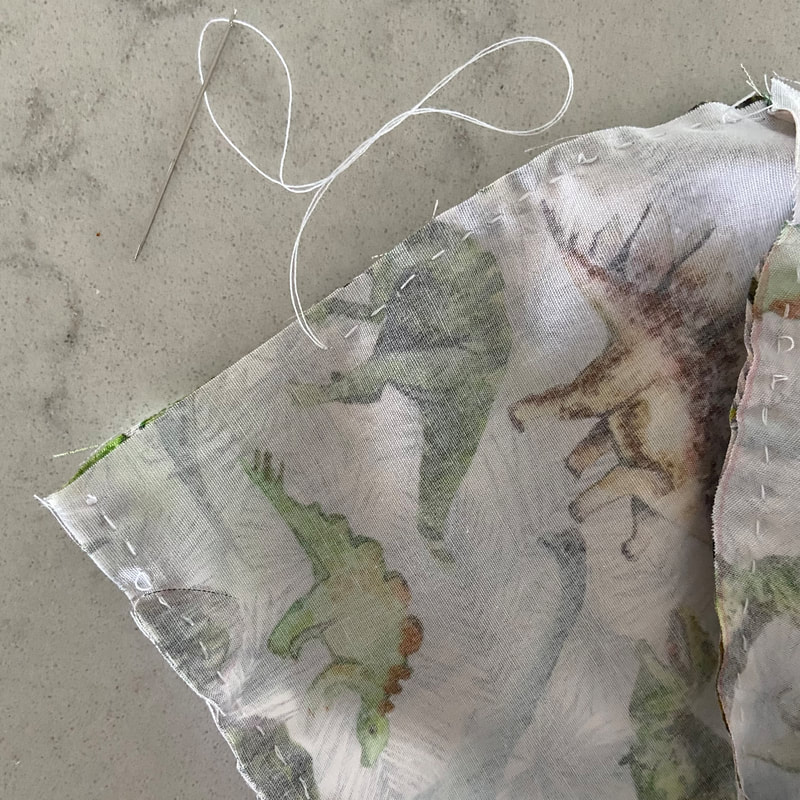
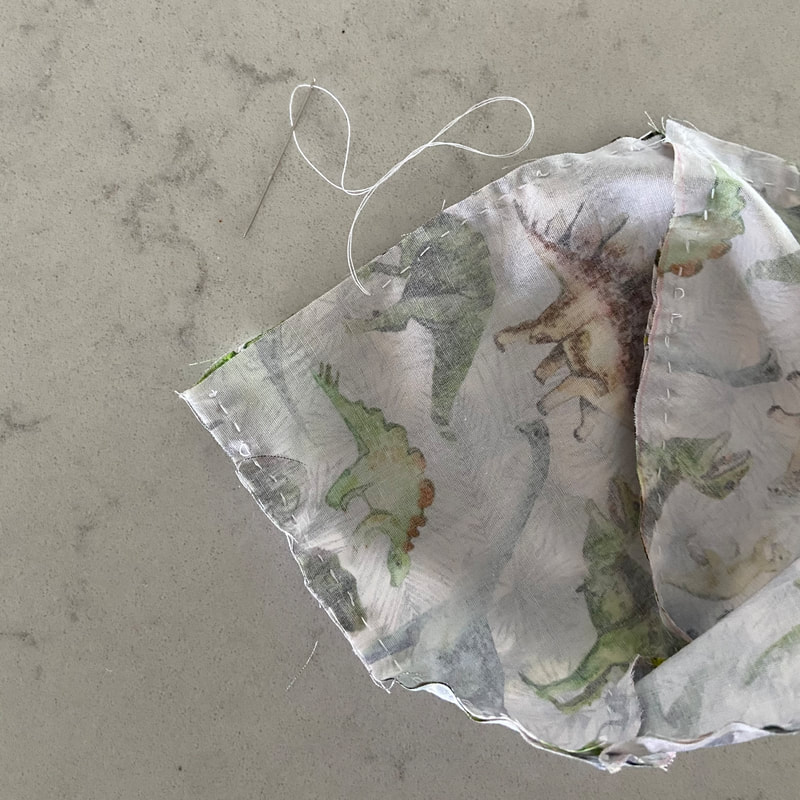
Now stitch along the four sides of your domey diamond, BUT leave a gap of about 3-5cm before joining up with your first stitch in this section (pics further down show this).
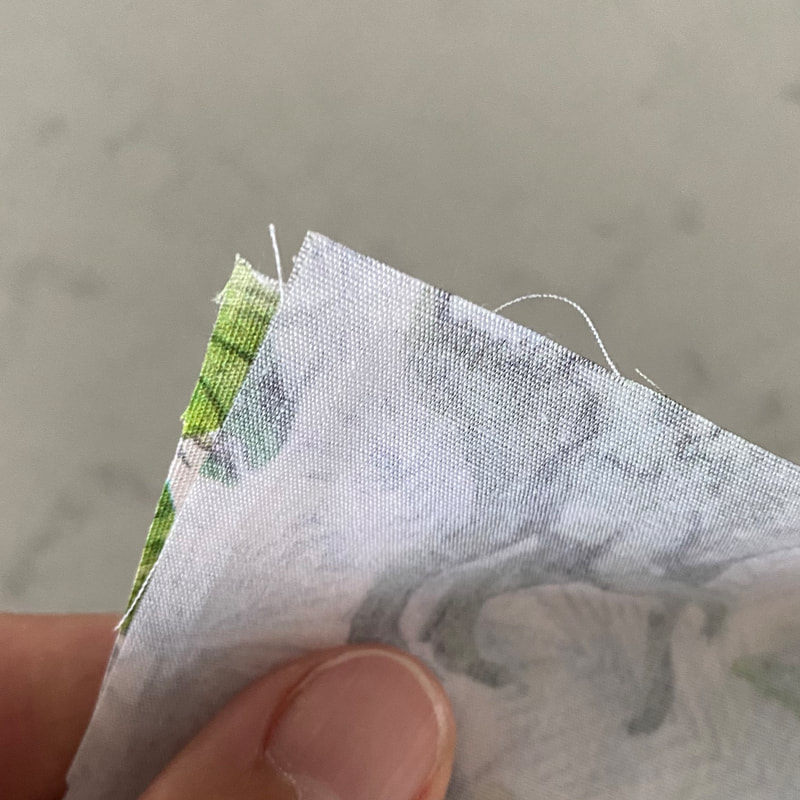
Remember when I said this pattern was very forgiving? I didn't use pins in this example and my corners ended up a bit skew-whiff as I stitched along.
That's ok.
I just realigned the corners as best as possible and sewed down the bump that formed along the seam. This will all be turned inside-out at the end so no one will know that you got distracted by the Bondi Vet coming onto your screen. Or whatever.
That's ok.
I just realigned the corners as best as possible and sewed down the bump that formed along the seam. This will all be turned inside-out at the end so no one will know that you got distracted by the Bondi Vet coming onto your screen. Or whatever.
Step 5.
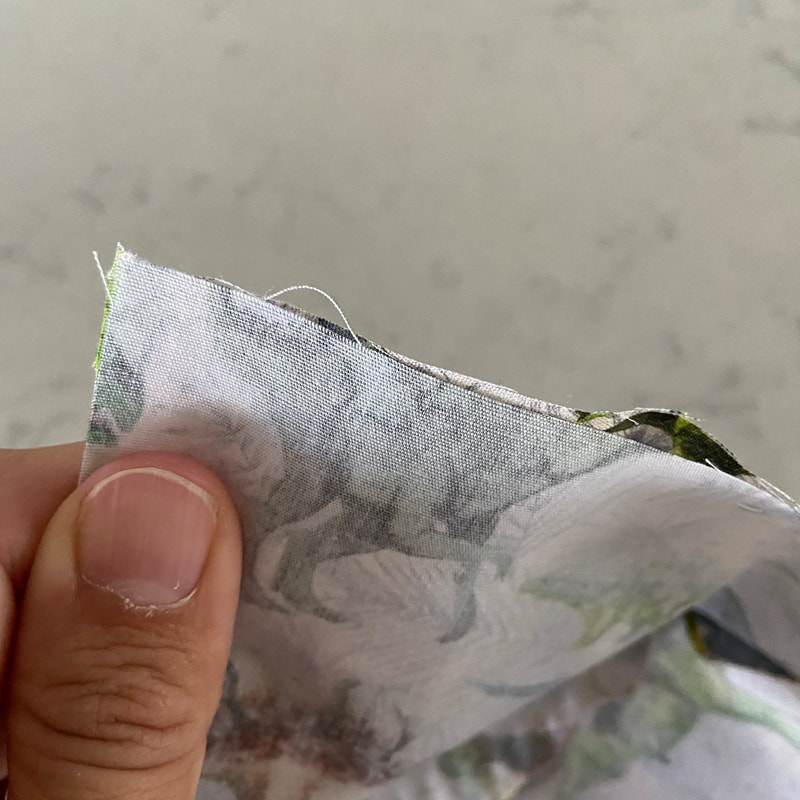
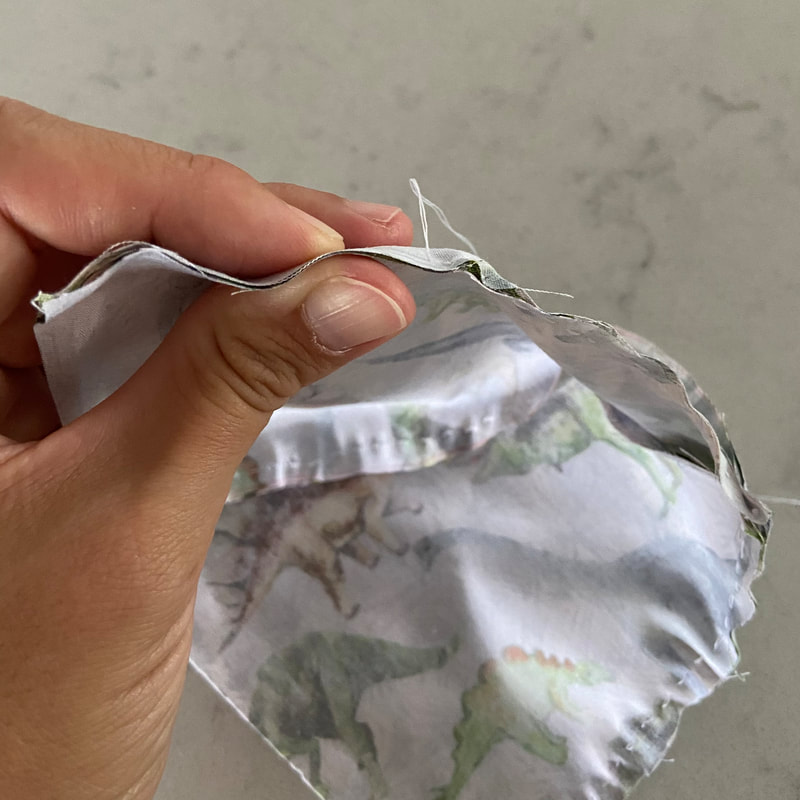
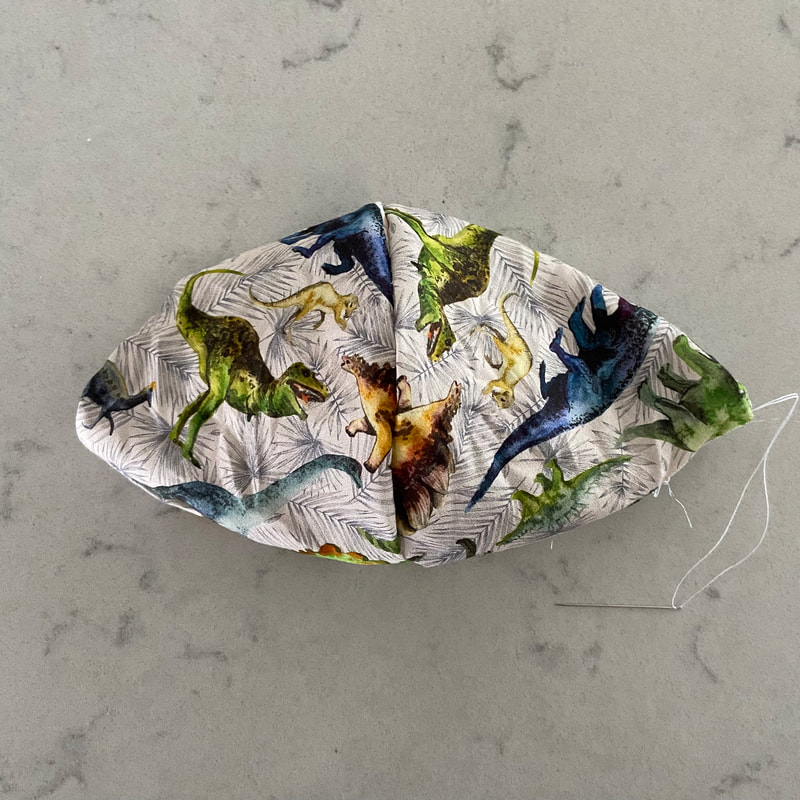
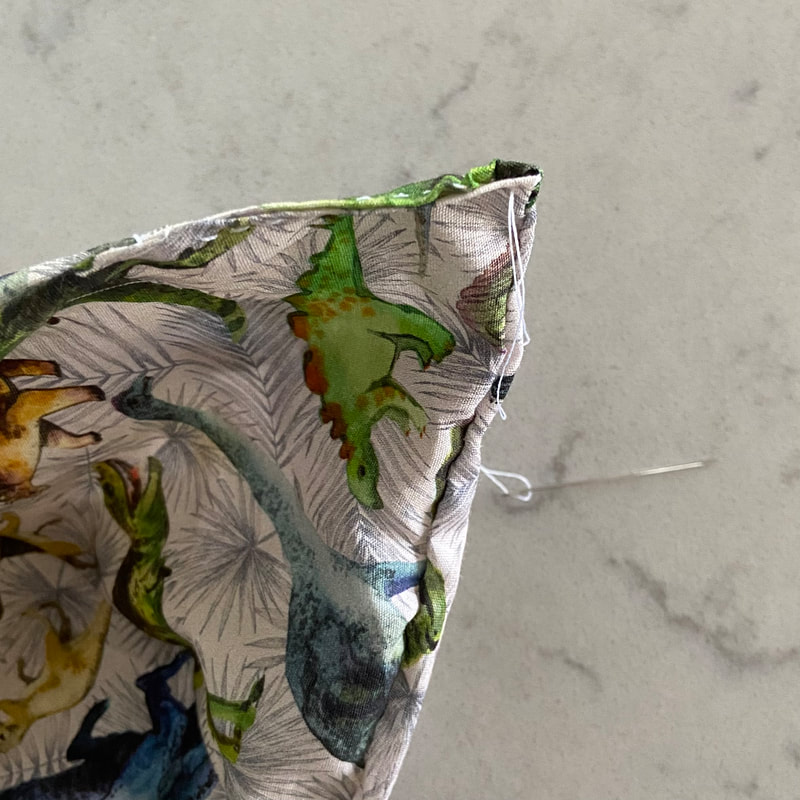
Now below is an example of where I stopped sewing along the seam before reaching my start point. This gap is so important, I gave it it's very own step.
Now below is an example of where I stopped sewing along the seam before reaching my start point. This gap is so important, I gave it it's very own step.
Step 6.
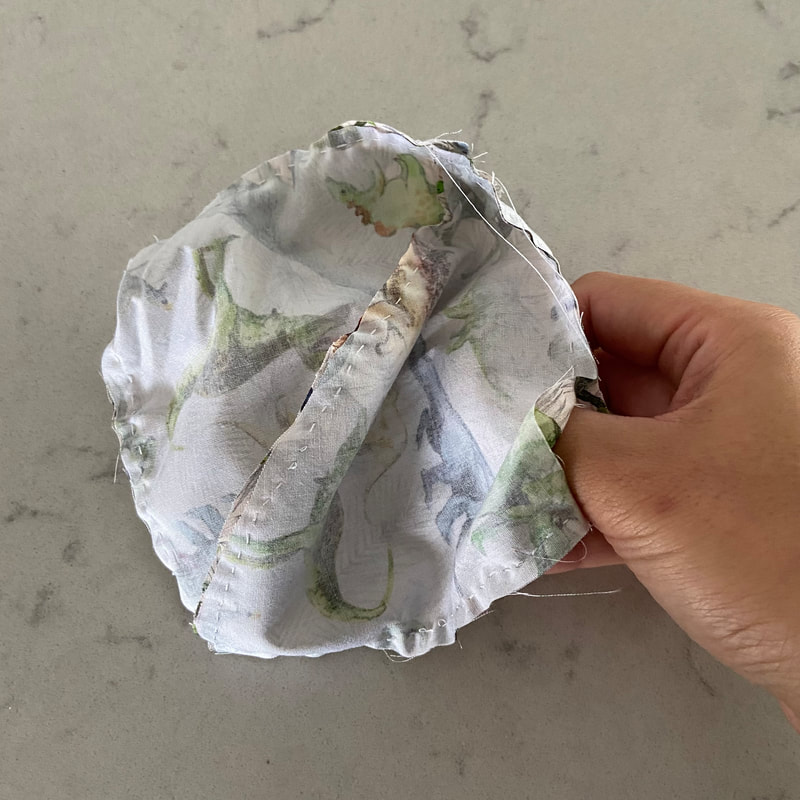
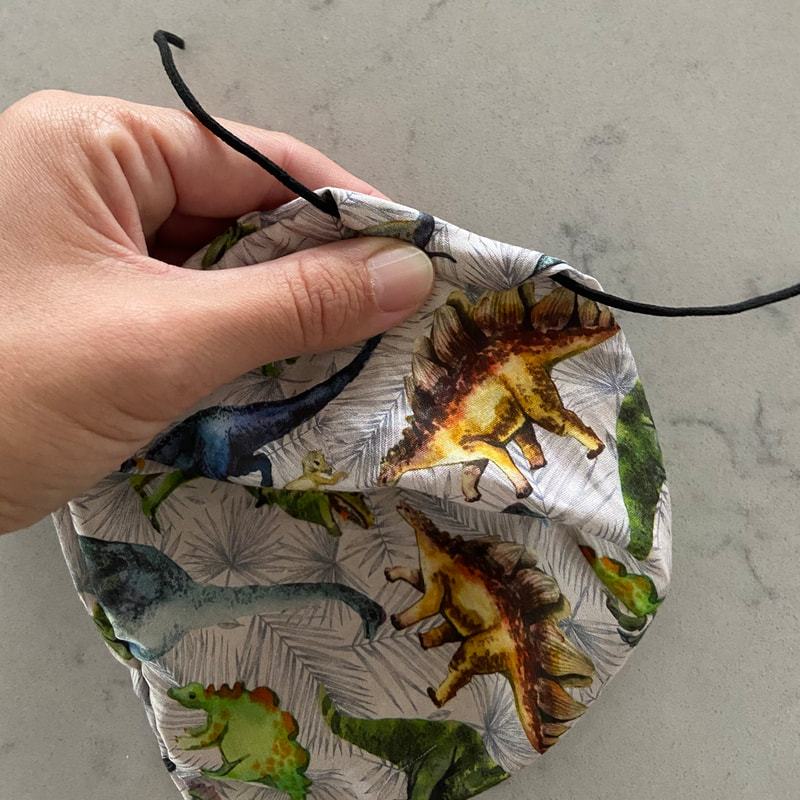
Stick your finger in the hole of the gap you just left. Any finger will do.
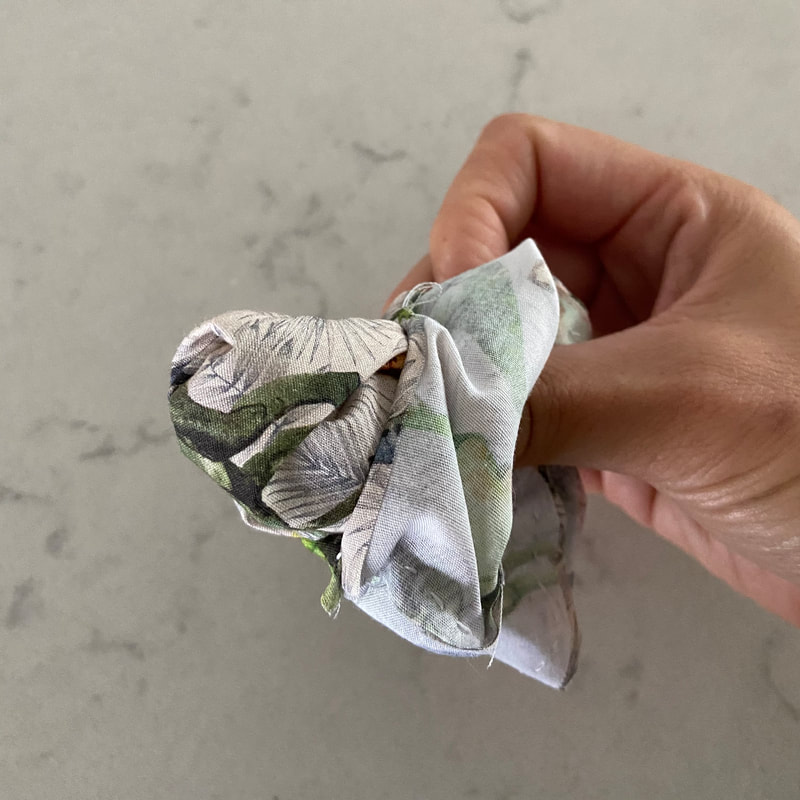
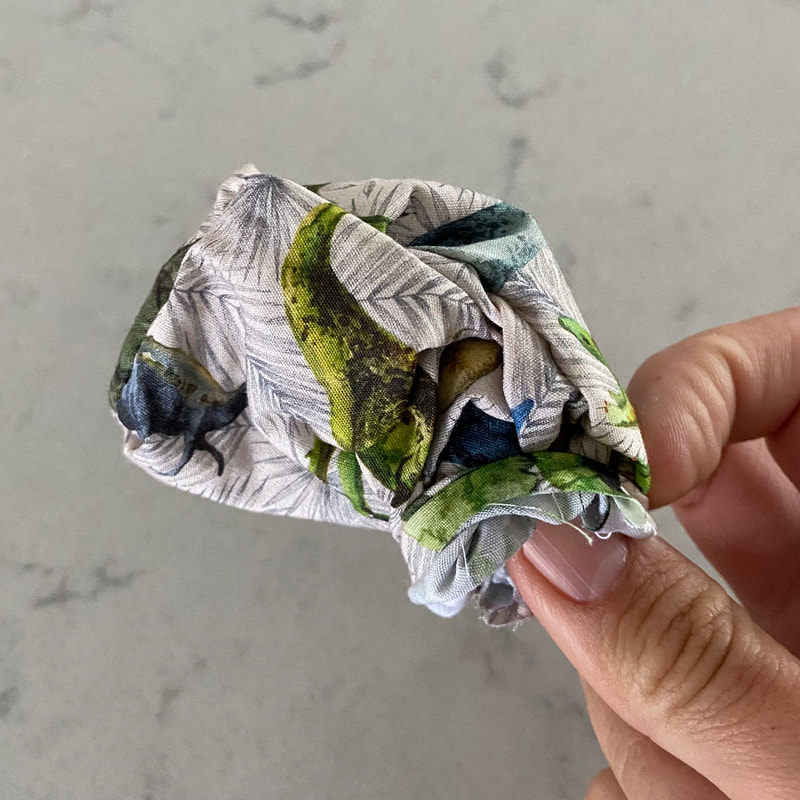
Then with your other hand, push through the fabric from the opposite corner and carefully pull that corner through the gap you left.
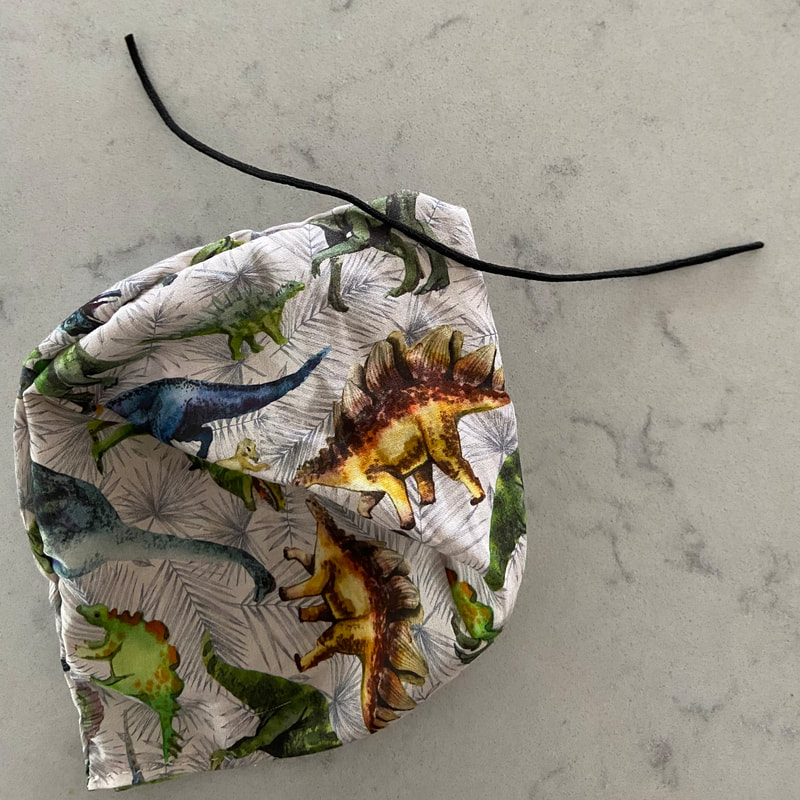
The ultimate goal of this step is getting the patterned side onto the outside. Basically just make that happen.
Step 7.
It's starting to look like a mask!
Sew up the gap you had left- I poke the needle through just one side of the fabric first then keep going with my trusty running stitch until I reach the corner. This section will mostly be tucked away in the end, so no worries about making it too neat.
Good enough.
Step 8.
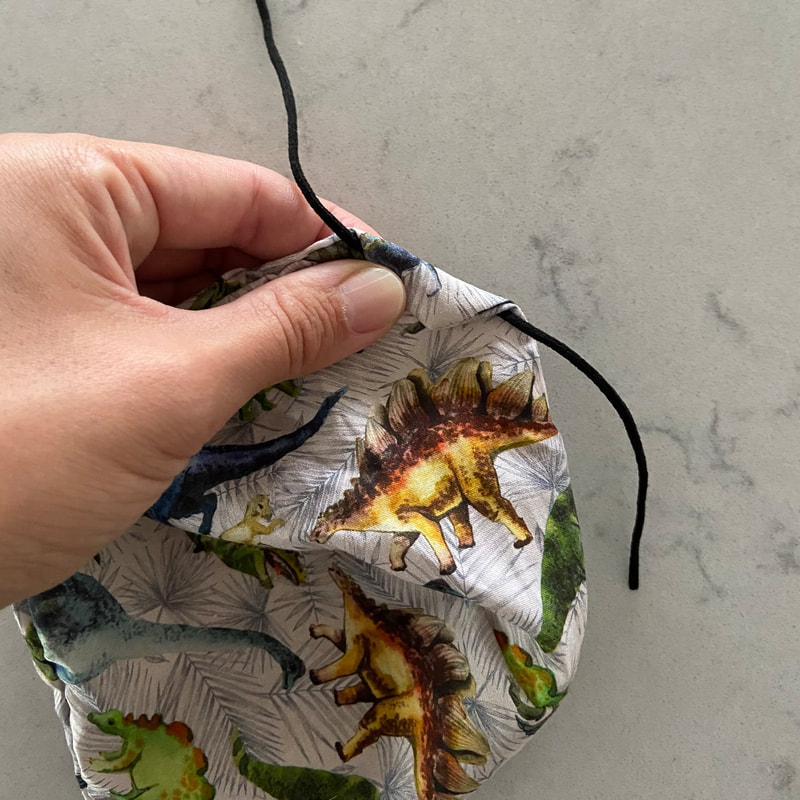
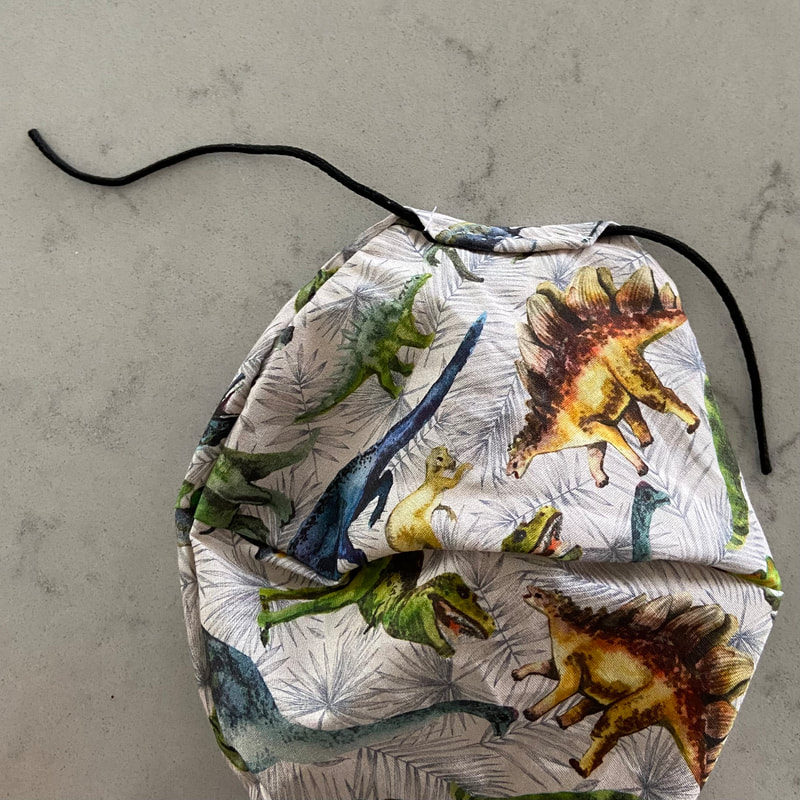
Now we can add the elastic. Hold your mask up to your face and pull a piece of elastic around your ear to measure roughly how much you will need, then cut off that much elastic.
Again, it doesn't matter if it's not exact: if you haven't cut quite enough elastic- it stretches. If you've cut too much- you can tie a knot closer to the mask and cut off the extra bits later.
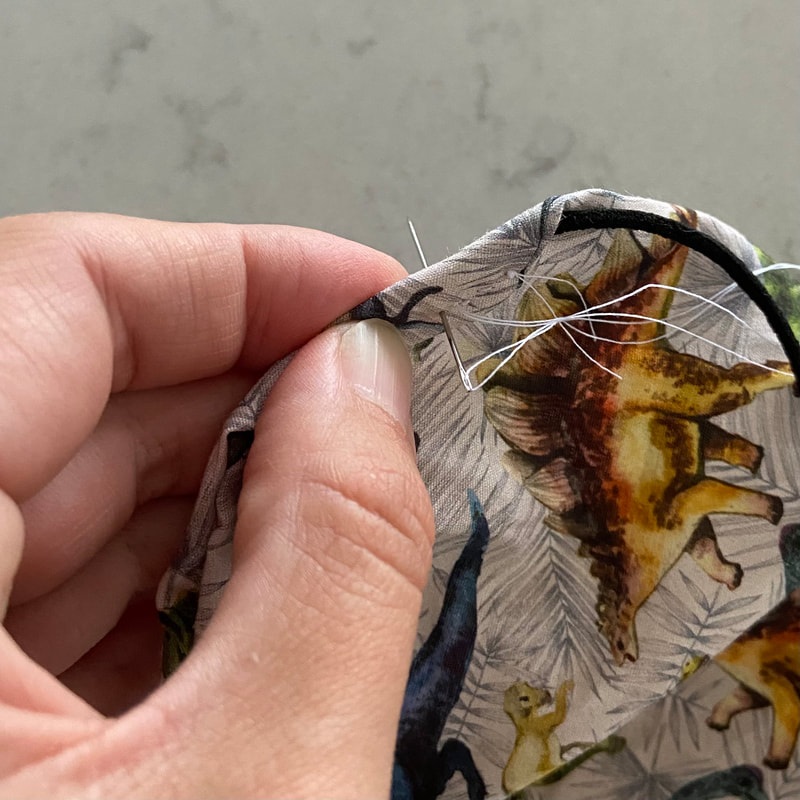
Once your got your elastic bits ready, lay one against a corner and fold the corner over once. Then fold it down again so you've got more area to do your final stitches (you can actually just fold it once if you like- no rules).
Keeping the elastic against the edge of the mask, stitch along the bottom of your fold to hold the elastic in place.
Step 9.
You are so close to protecting society and looking good while you do it.
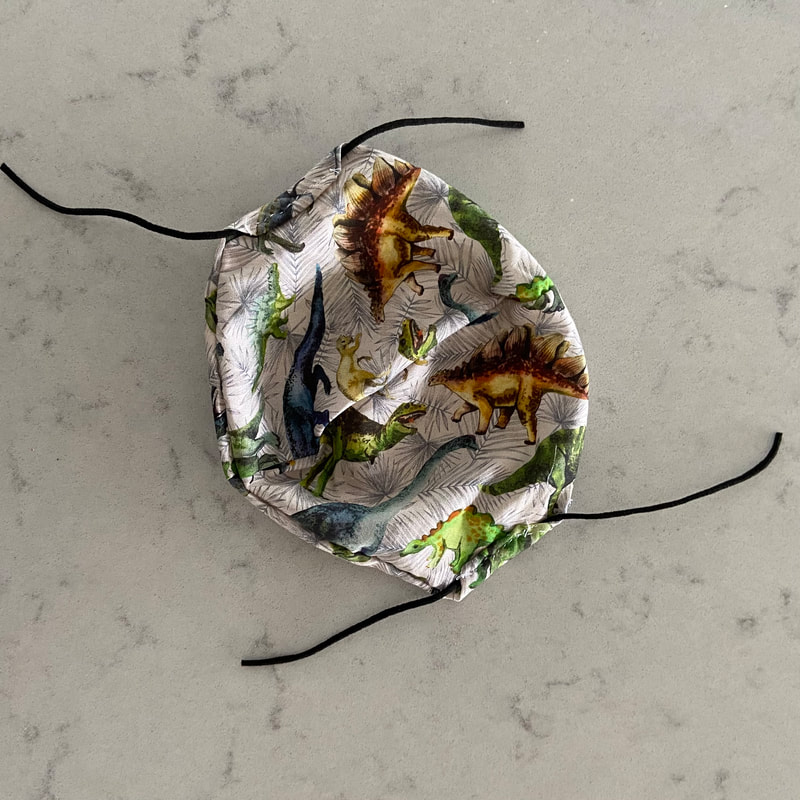
Tie a knot in each piece of elastic so you've got your mask loops to hang over your ears.
Flip over and you have your very own, handmade fashion-piece.
And when people ask where you got your awesome creation from, you can totally say that you made it yourself- thanks for masking.
If you have a crack at making your own mask, I'd absolutely love it if you shared your handicraft over on Instagram and tag me @australianfoodie.
And I'd love it even more if it's just good enough.
And I'd love it even more if it's just good enough.
